
Step into any modern, luxurious space, and you're likely to be greeted by vast, seamless surfaces that exude elegance and sophistication. This is the era of large-format porcelain tiles—a revolution in interior and exterior design that's redefining our visual landscape. As architectural trends favor open, airy spaces, porcelain tile manufacturers have responded by creating stunning oversized tiles that are now widely popular in both homes and commercial spaces.
But what exactly are large-format tiles? Typically, any tile measuring 24 inches or larger on at least one side falls into this category. These impressive tiles can range from 60cm x 60cm to stunning 80x160 slabs or even larger. Their substantial size opens up a world of design possibilities, from making small rooms appear more spacious to creating dramatic focal points in larger areas.
As the demand for these tiles grows, so does the need for proper installation techniques. While the basic principles of tile-laying apply, working with large format tiles presents unique challenges and rewards.
In this comprehensive guide, we'll explore the benefits of installing large-format porcelain tiles, walk you through the installation process step by step, and provide expert tips to ensure your project is a resounding success.
What Makes Large-Format Porcelain Tiles Exceptional?
Large format porcelain tiles stand out for their unique qualities and advantages. Here’s what makes them exceptional:
Minimal Grout Lines
Large format tiles dramatically reduce the number of grout lines in your space, creating a sleek and uninterrupted surface. This reduction in visible grout contributes to a cleaner aesthetic and makes rooms appear more spacious and open. The minimized grid-like pattern allows the tile's natural beauty to take center stage, enhancing the overall visual appeal of your floors or walls.
Easier maintenance
One of the most practical advantages of large format tiles is the significantly reduced maintenance they require. With fewer grout lines, there are fewer areas where dirt, grime, and moisture can accumulate. This translates to a simpler and more efficient cleaning routine. A quick sweep and mop are often all that's needed to keep your floors looking impeccable. The reduced amount of grout also means less potential for staining or discoloration over time, helping your floors maintain their pristine appearance with minimal effort.
Seamless Indoor-Outdoor Transition
Large-format tiles blend the lines between interior and exterior spaces, creating a cohesive and expansive feel throughout your home. You can achieve a seamless transition that visually extends your living space by using the same large tiles in both indoor and outdoor areas. This continuity is particularly effective in open-concept homes or properties with patios and balconies. The result is a harmonious design that enhances the overall architectural flow of your space, making it feel more open, airy, and connected to the surrounding environment.
Steps For Installing Large Format Porcelain Tiles
We've discussed why large-format porcelain tiles are great. Now, let's learn how to install them. While putting in these big tiles is similar to installing regular tiles, there are some key differences to keep in mind. Because these tiles are so large, it's essential to ensure the floor underneath is smooth and clean. Even minor bumps or bits of dirt can cause problems, making the tiles crack or not sit right.
In this section, we'll go through each step of installing large-format porcelain tiles. We'll explain what makes this process unique and give tips to help your project turn out beautifully. Whether you're doing this yourself or a pro looking for some pointers, these steps will help you get the job done right.
Let's get started with our step-by-step guide:
Prepare the Subfloor
Begin by thoroughly cleaning the subfloor and removing all dust, debris, and any old adhesive. Inspect the surface for cracks or unevenness. For concrete subfloors, fill any cracks with an appropriate concrete filler. When installing large-format porcelain tile on wood substrate, ensure all boards are securely fastened, and consider installing a cement backer board for added stability.
Pro Tip: Use a long level or straight edge to check for any high or low spots. Any variation greater than 1/8 inch over 10 feet should be leveled out using a self-leveling compound.
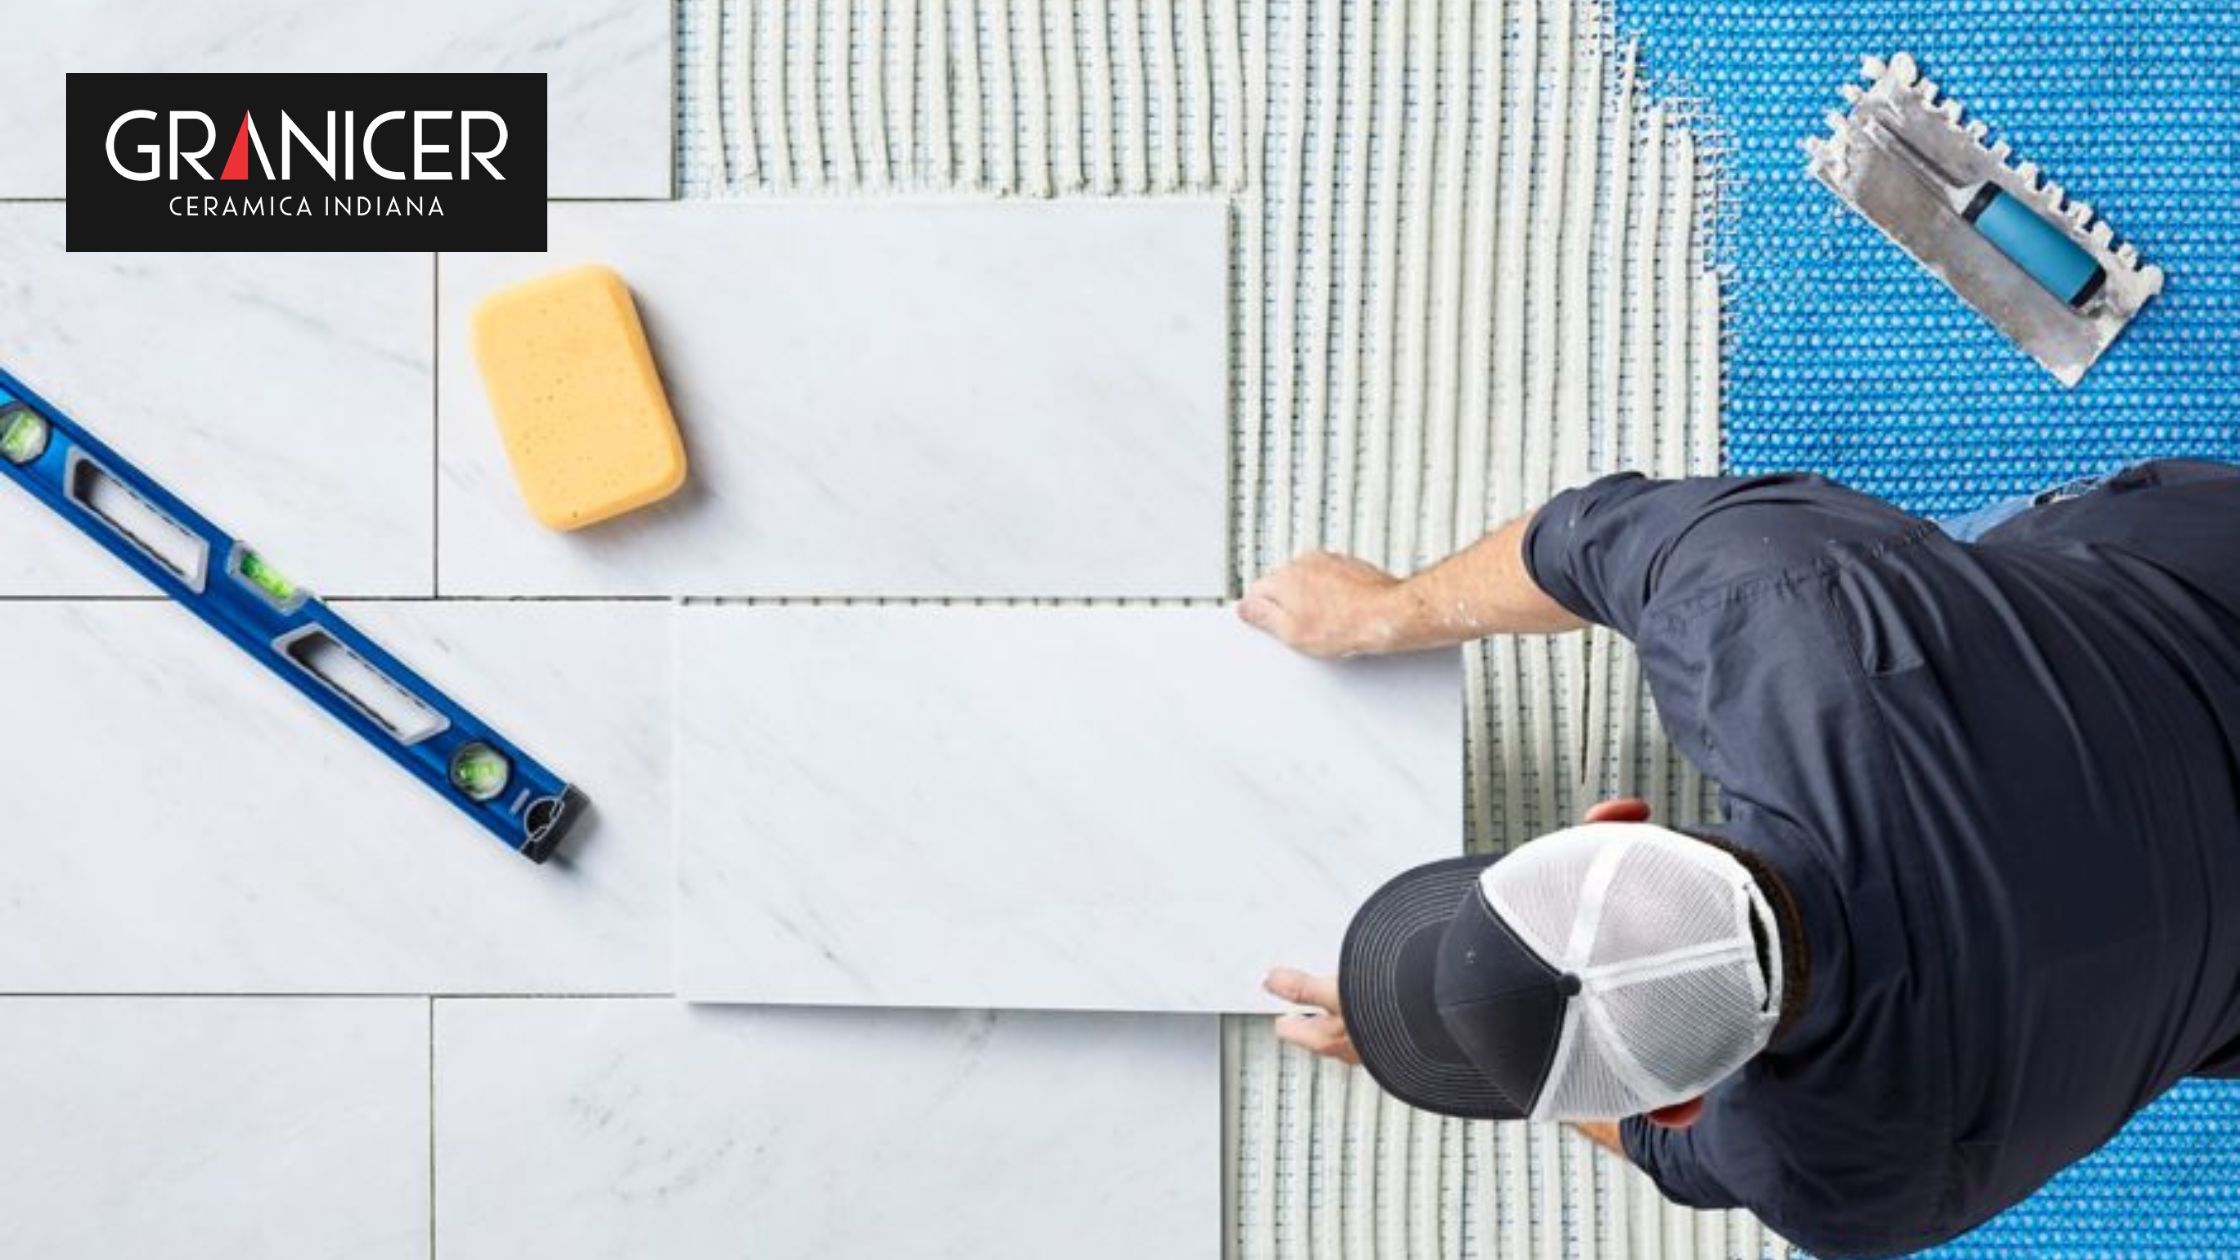
Plan Your Layout
Take time to plan your tile layout carefully. Start by finding the room's center point and draw perpendicular lines to create quadrants. Dry-lay some tiles along these lines to see how they'll fit and make adjustments as necessary to avoid narrow cuts at the room's edges.
Pro Tip: Use graph paper to sketch your room and tile layout. This can help you visualize the final result and calculate the tiles needed, minimizing waste.
Apply Adhesive
Choose a high-quality, flexible adhesive specifically designed for large format tiles. Mix according to manufacturer instructions. Apply the glue to the subfloor using a notched trowel (typically 1/2 inch x 1/2 inch or larger). Work in small sections to prevent the adhesive from drying before placing the tiles.
Pro Tip: Apply adhesive to the back of the tiles as well (known as "back-buttering") to ensure full coverage and prevent air pockets.
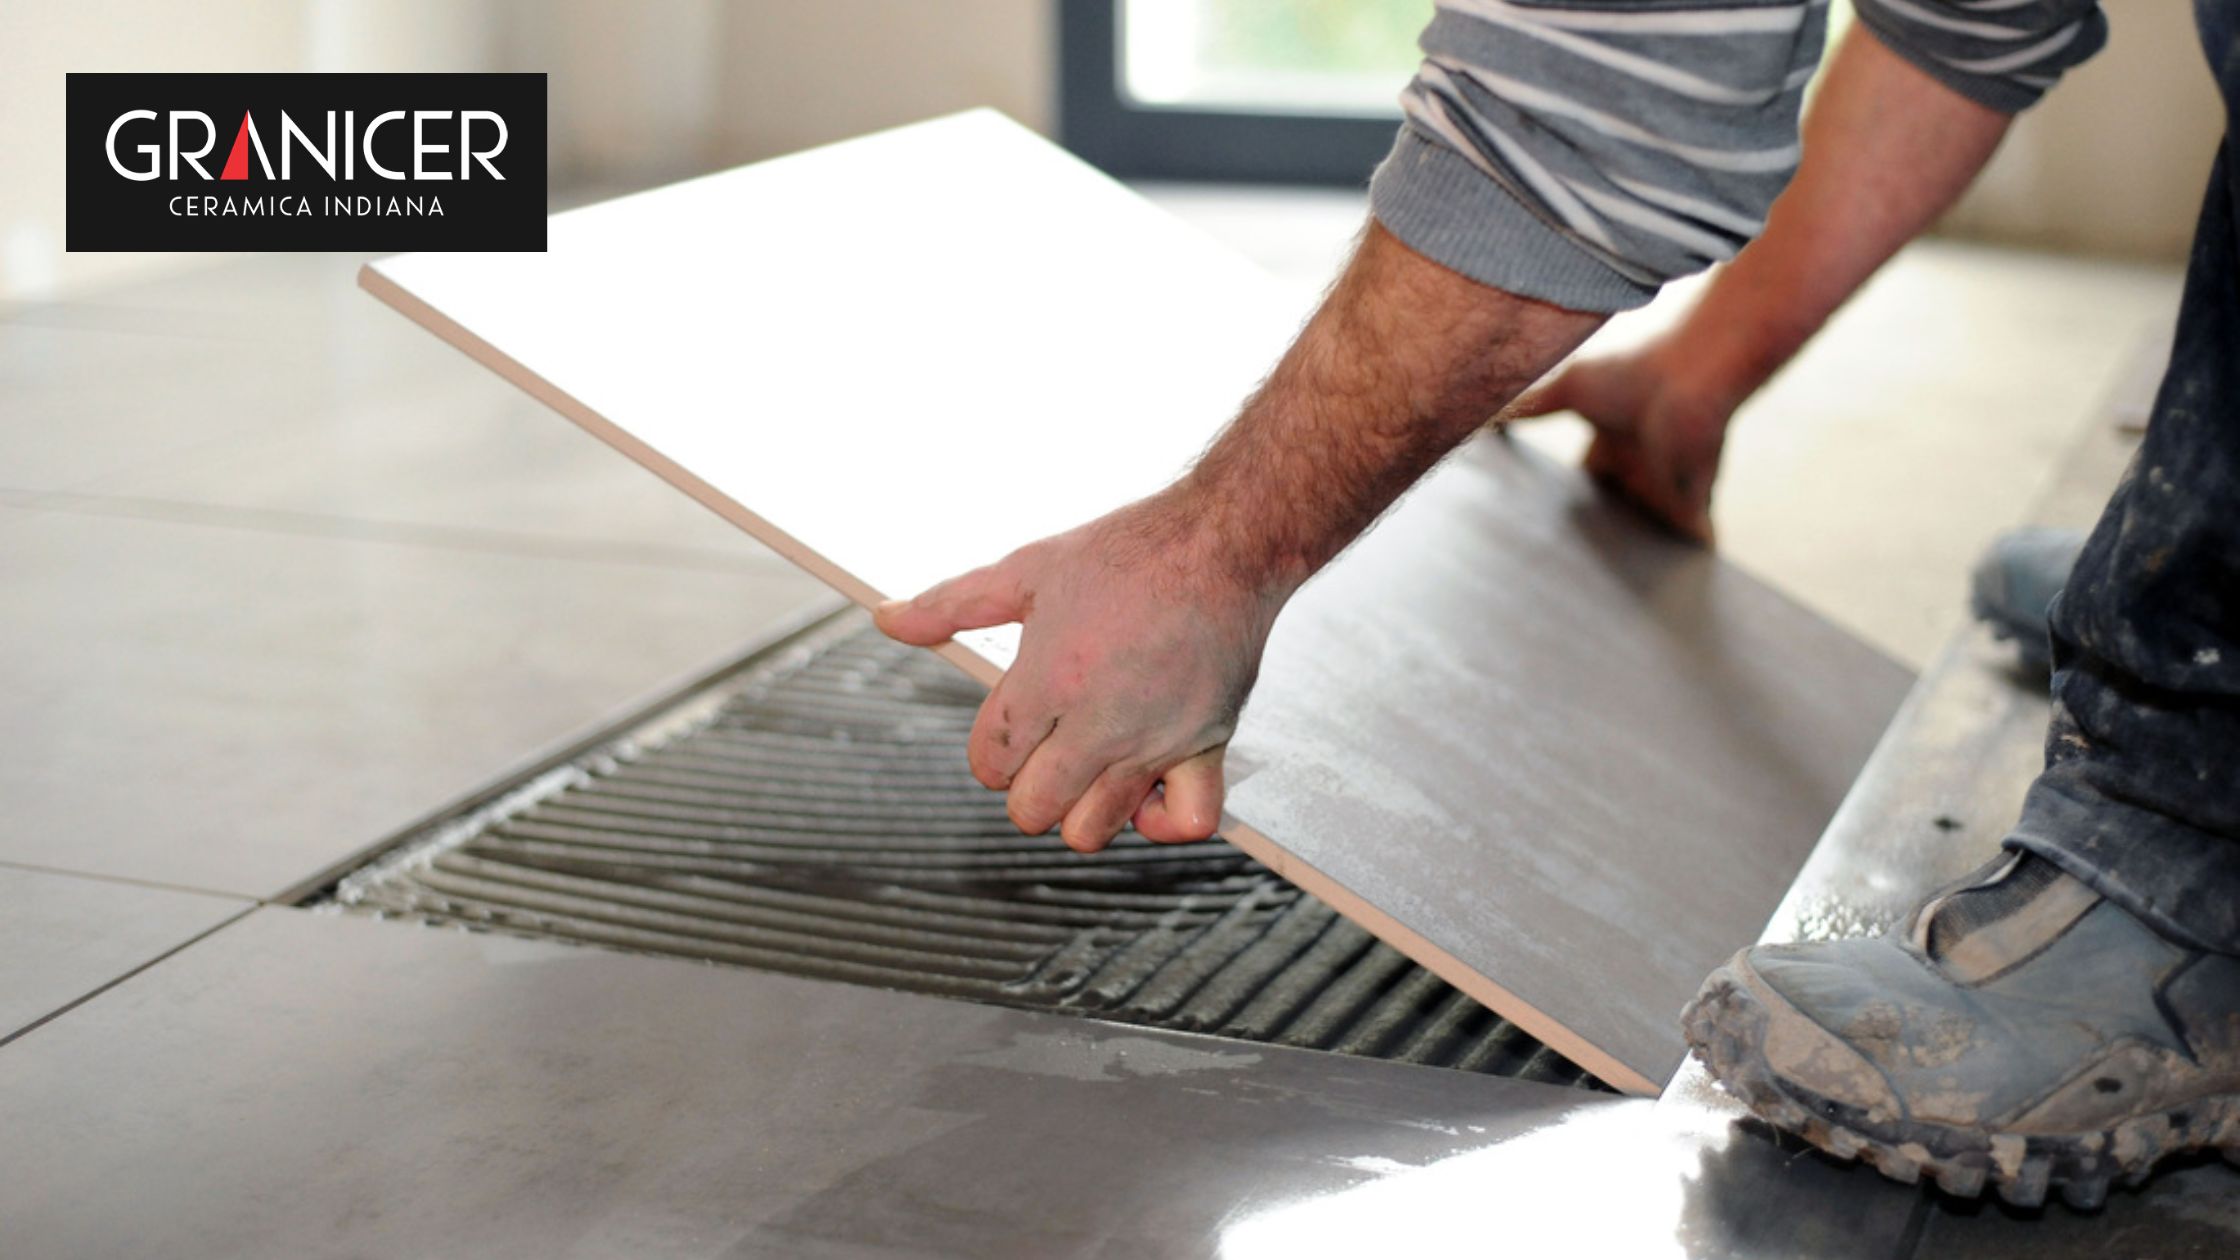
Lay the Tiles
Starting from the center of the room, carefully place each tile into the adhesive. Use spacers to maintain consistent gaps between tiles. Gently press each tile into place with a slight twisting motion to ensure good adhesive contact.
Pro Tip: Use a rubber mallet to tap the tiles gently, ensuring they're level with adjacent tiles. This helps prevent lippage (height differences between tiles).
Use a Leveling System
A tile leveling system is crucial for large-format tiles. These systems use clips or wedges to keep adjacent tiles perfectly level. Install the leveling system as you lay each tile, following the manufacturer's instructions.
Pro Tip: Leave the leveling system in place until the adhesive has fully cured (usually 24-48 hours) to prevent any shifting.
Cut Tiles as Needed
Use a wet saw for straight cuts on porcelain tiles. For curved cuts or holes (for outlets, for example), use a tile nipper or hole saw attachment. Always wear safety goggles and gloves when cutting tiles.
Pro Tip: When cutting around obstacles, make a paper template first. This reduces the risk of errors on your expensive tiles.
Allow Adhesive to Cure
Once all tiles are in place, allow the adhesive to cure fully before walking on the tiles or starting to grout. This typically takes 24-48 hours, but always check the manufacturer's recommendations.
Apply Grout
Choose a grout color that complements your tiles. A narrow grout line (1/8 inch or less) often looks best for large format tiles. Mix the grout per package instructions and apply it diagonally across the tiles using a rubber float. Clean excess grout from the tile surface with a damp sponge.
Pro Tip: Seal your grout after it has cured to protect it from stains and make cleaning easier.
Final Cleaning and Sealing
Once the grout has cured, thoroughly clean your new floor with a pH-neutral cleaner designed for porcelain tiles. If recommended for your specific tiles, apply a penetrating sealer to protect them from stains.
Pro Tip: Always test your sealer on a spare tile or inconspicuous area first to ensure it doesn't alter the tile's appearance.
By following these steps and implementing the pro tips, you'll be well on your way to achieving a professional-looking installation of your large format porcelain tiles.
Troubleshooting Common Issues When Installing Large-Format Tiles
Even with careful planning and execution, you might encounter some challenges. Here are solutions to common problems:
-
Lippage: If you notice slight unevenness between adjacent tiles, don't panic. After installation, use a rubbing stone to gently smooth minor lippage, being careful not to damage the tile surface.
-
Hollow spots: Tap the tiles lightly with a rubber mallet. If you hear a hollow sound, it indicates a void beneath the tile. If detected early, remove the affected tile and reinstall it with fresh adhesive, ensuring full coverage.
-
Cracked tiles: Unfortunately, cracked tiles will need to be replaced. This is why keeping extra tiles from your original batch on hand is always wise. To replace a cracked tile, carefully remove it without damaging surrounding tiles, clean the area thoroughly, and install a new tile.
Pro Tip: Prevention is key. Many of these issues can be avoided by ensuring proper substrate preparation, using the right amount of adhesive, and employing a reliable leveling system during installation.
Transform Your Home with Stunning Large Format Porcelain Tiles
Congratulations! You're now equipped with the knowledge to install large format porcelain tiles like a pro. Remember, patience and attention to detail are key to achieving a flawless finish.
At Granicer, we're passionate about helping you create beautiful spaces with top-quality porcelain tiles. Our extensive range of large format tiles combines durability with stunning aesthetics, perfect for any room in your home. We manufacture tiles in a wide variety of sizes – from as small as 30cm x 60cm to as large as 60 x 120cm porcelain tiles.
Our large format tiles come in a range of materials, finishes, designs, and colors, providing you with an array of options to choose from. Whether you're tackling a DIY project or seeking professional installation, we're here to support you every step of the way.
Visit our site to explore our collection of premium large format porcelain tiles or connect with our expert team for personalized advice on your next tiling project. Let's turn your vision into reality!